Using social media to promote your products is growing more essential each and every day. It’d be a fair question to ask yourself, how is my display of products better than anyone else’s? If you’re looking to stand out, you need to learn to light your products for Instagram.
While product color, the background of your image, and even the quality of your camera all play vital roles in the relative attractiveness of your photos – lighting is even more important. With good lighting, your viewers are able to see the best parts of your product without having to squint at details or try to make out what may be lurking in the shadows.
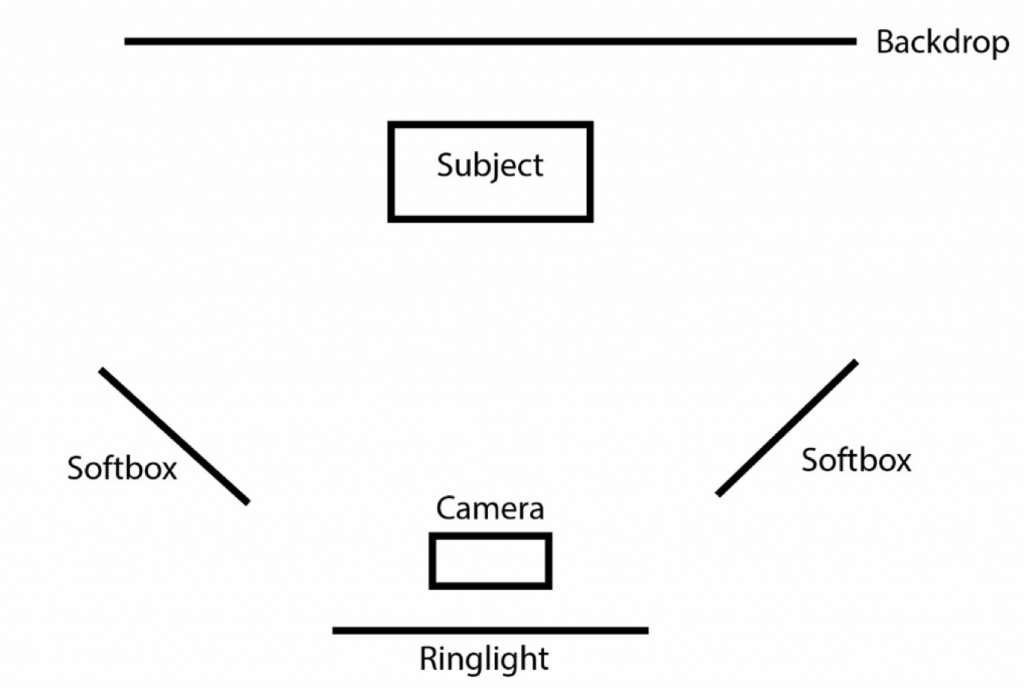
Below is a diagram that displays the ideal lighting setup that should be used in order to display your product with the best lighting.

Let’s break down this diagram a bit so it makes the most sense. A great lighting setup typically involves 3 lights: two lights to the side of the subject and one near the camera itself. In this particular example, two softboxes are being used and are angled on the side of the product. These lights eliminate shadows cast by the ring light so that the product is being lit from various different sides.
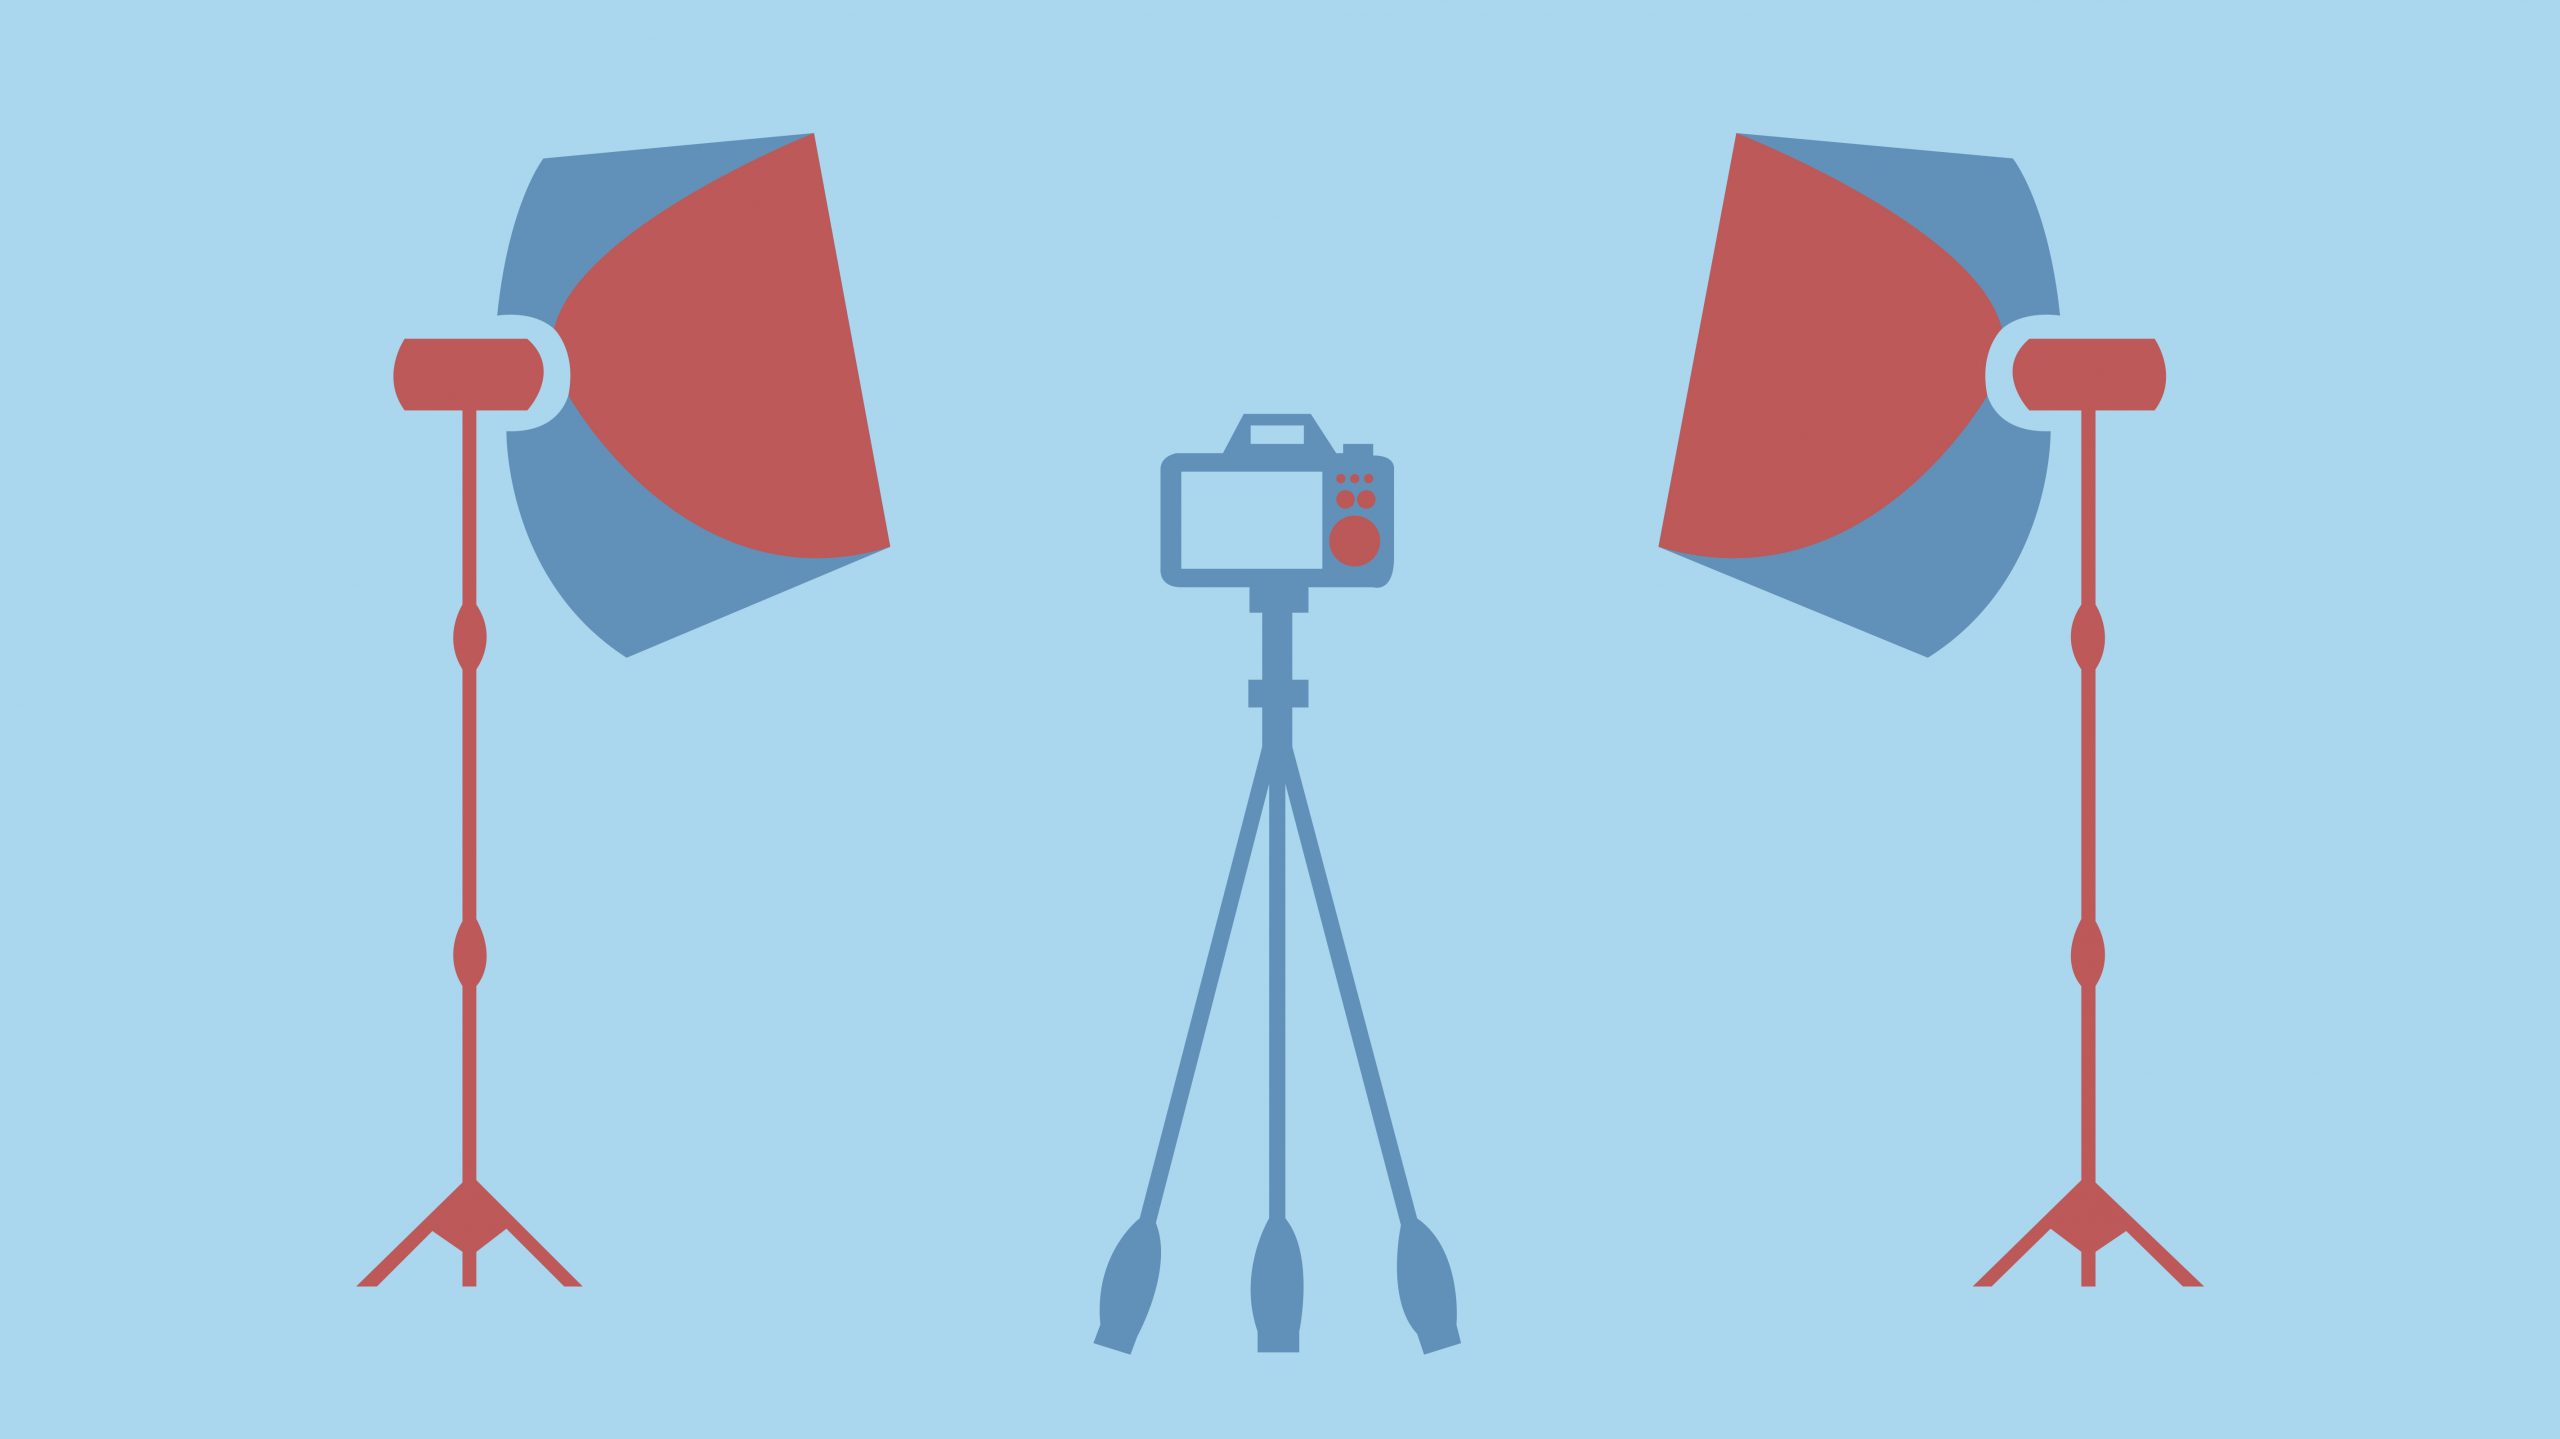
Softboxes are great investments and even better sources of light. They’re known as softboxes because they are the shape of boxes and they diffuse, or soften, the light. This is important because if too intense of a light is used, then heavy shadows are cast onto the product. They come in a wide variety of price points, so getting set up will be affordable.
The ring light behind the camera is the main light being used, it’s a bit brighter than the softboxes and gives your product light from the ideal angle. A third soft box, or some other type of light, can also be used in its place except ring lights sell for a relatively cheap price and offer a bright light from a reasonably sized source.
Ring lights are also handy for videos, the circular shape of the light compliments the eyes of the person using it. Ring lights also spread light; they are not pinpoint light sources like flashlights are. This is advantageous because the light is never too intense.
It’s important to remember that shadows are never good in photos meant to display a product, because through the lens of a camera they turn into blackholes. Photographing lighter colored products makes this easier to avoid and also allows for more details to shine through in your photos. When photographing darker colored products lighting is even more important because shadows and dark colors can combine to make the product even harder to make out.
Learning how to light your products for Instagram appropriately can mean the difference between making the sale or not – e-commerce entrepreneurs really need to up their game. Fortunately, this setup isn’t terribly expensive and it’s only a little bit space-intensive. A backdrop can be rolled up when not in use, and lighting can be stored in a corner of your office or studio.
Whether you sell jewelry, art, sewing patterns, craft supplies or other products, good lighting in a well-appointed studio is a must.
For more tips on how to use video effectively, download our video guide for small business here.


